The short answer
To reduce shipping damage in kids ride-on ATV orders, design the product and package as one system. Protect protruding and painted parts, restrain heavy components, separate hardware and chargers, validate the packed carton for the actual distribution route, and inspect pack-out before shipment. Use a controlled packaging specification with photos, materials, dimensions, tests, and clear acceptance criteria.
A children’s ride-on ATV can pass functional inspection at the factory and still arrive with scuffed body panels, bent decorative parts, loose hardware, cracked cartons, displaced batteries, or missing accessories. These failures are expensive because the physical damage is only the beginning: customer support, replacement parts, negative reviews, retailer chargebacks, and reverse logistics can exceed the cost of the original packaging improvement.
Packaging performance cannot be judged from carton thickness alone. The vehicle shape, center of gravity, protruding components, internal clearances, accessory placement, assembly method, handling route, climate, stacking, and final-mile channel all interact. This guide shows B2B buyers how to investigate root causes, define a production-ready pack-out, and build packaging verification into shipment inspection.
1. Start with likely damage modes, not a generic carton request
“Use a stronger carton” is not a complete packaging specification. First identify how the product can move, carry load, rub, puncture, compress, or lose parts during its journey. A ride-on ATV combines a relatively large plastic shell with wheels, axles, handlebar or steering components, battery mass, wiring, fasteners, and accessories. Each creates a different failure path.
Common damage patterns to investigate
- Surface scuffs where painted or textured parts touch corrugated board, ties, wheels, or loose accessories.
- Cracks around thin plastic edges, mounting points, decorative guards, or areas carrying concentrated load.
- Bent or detached protrusions caused by insufficient clearance or carton impact.
- Battery, charger, or hardware movement that damages the body or wiring.
- Wheel, axle, or steering movement that transfers force into the shell.
- Carton bulging, corner crush, puncture, moisture weakening, or closure failure.
- Missing or mixed hardware caused by uncontrolled bags and pack-out sequence.
- Installation damage because parts, tools, or instructions are unclear after delivery.
Use historical returns, warehouse photos, marketplace reviews, distributor feedback, and unpacking videos to rank these risks. When no history exists, conduct an engineering pack-out review and handling trial with a production-representative sample. The aim is to predict which surfaces and components will touch when the carton is dropped, tilted, vibrated, stacked, or opened.
2. Map the actual distribution route
Packaging requirements should follow the route to the end customer. A full-container shipment to a distributor warehouse experiences different hazards from a single carton moving through an e-commerce parcel network. The buyer should document every expected transfer: factory staging, container loading, ocean or rail transport, customs handling, warehouse storage, pallet breakdown, parcel sorting, retail delivery, and consumer unpacking.
| Channel | Likely concern | Packaging response to evaluate |
|---|---|---|
| Full-container distributor order | Stacking, humidity, loading pressure, unloading | Carton compression, pallet or floor pattern, desiccation, bracing, handling marks |
| Retail distribution center | Conveyor and forklift touches, pallet changes, barcode accuracy | Stable unit load, readable labels, agreed case dimensions, scan placement |
| E-commerce parcel | Repeated drops, impacts, orientation changes, customer assembly | Individual-carton integrity, internal restraint, clear unboxing and parts control |
| Specialist dealer | Storage, inspection, partial assembly, spare parts | Resealable access, component identification, service information |
Confirm whether the carton will ship alone, on a pallet, or inside a master arrangement; whether additional overpacking is used; and whether the carrier or retailer has a specific protocol. The International Safe Transit Association describes its 1-Series as non-simulation integrity tests and its 3-Series as general simulation tests. The correct procedure must be selected for the intended outcome rather than copied from another product.
Review the official ISTA test-procedure overview and confirm the applicable retailer, carrier, laboratory, or buyer requirement for your route. Passing one procedure does not prove suitability for every distribution system.
3. Engineer the product and pack-out together
Good pack-out begins before the carton drawing. Decide which parts remain assembled and which are removed to reduce volume or protect protrusions. Every removed part creates an installation step, hardware requirement, and possible missing-part claim. Every assembled protrusion increases the space and protection needed. Choose the balance deliberately.
Heavy parts should not be free to build momentum inside the carton. Restrain the vehicle so that loads transfer through suitable structural areas rather than thin decorative plastic. Provide clearance around vulnerable surfaces and use protection that does not abrade finishes. Separate chargers, hardware, tools, manuals, and accessories so that they cannot migrate into the body during transport.
Pack-out specification details worth controlling
- Vehicle orientation and all parts removed or folded for shipping.
- Location, material, dimensions, and density of each protective insert.
- Tie, bag, film, sleeve, or surface-protection location and closure method.
- Battery restraint and connector condition during shipping.
- Hardware bag contents, count, label, seal, and fixed position.
- Charger, manual, decal, accessory, and tool placement.
- Corrugated board grade, construction, dimensions, joint, print, and closure.
- Gross weight, net weight, carton measurements, and approved pack-out photographs.

4. Reduce returns through better installation preparation
Shipping a partially assembled vehicle can improve cube efficiency and protect vulnerable parts, but it transfers work to the distributor, dealer, or consumer. The packaging plan should therefore include installation preparation: clear part identification, complete hardware, accessible mounting points, suitable tools, and instructions that match the exact revision.
Run an independent unpack-and-assemble trial. Give the sealed production-representative carton to someone who did not design the product. Observe where they cut, lift, turn, connect, tighten, or hesitate. Record the time, questions, tools, packaging waste, and any surface contact. This often identifies risks that are invisible in a specification review.
Instructions should distinguish factory-installed fasteners from loose hardware, show orientation and sequence, state important charging preparation, and explain checks required before use. If packaging ties or temporary protection must be removed, show them. Avoid drawings recycled from a different body or controller revision.
Installation-readiness checklist
- All parts in the manual are present, correctly named, and visually recognizable.
- Hardware counts match the bill of materials and are grouped by step where practical.
- Required tools are stated and suitable for the fasteners.
- Battery and charger preparation is accurate for the supplied configuration.
- Warnings remain visible and are not discarded with temporary packaging.
- The completed vehicle can be checked for steering, controls, fasteners, and charging as instructed.
5. Validate the complete packed product
Package validation should use a representative product, production-intent components, final accessories, correct gross weight, approved carton, and actual closure method. Testing an empty carton or a hand-built prototype with extra protection does not validate production pack-out.
The test plan can include handling drops, vibration, compression, impact, climate conditioning, or other hazards appropriate to the route and buyer requirements. The sequence matters because real damage can accumulate. Agree the orientation, height or load, number of impacts, conditioning, acceptance criteria, photographs, and post-test functional checks with a competent packaging laboratory or retailer program.
After the test, inspect more than the outer carton. Open the package using the normal method and document insert movement, contact marks, loose components, cracked plastics, shifted alignment, wiring or connector damage, battery restraint, missing parts, and function. A visibly damaged carton can protect an acceptable product; an attractive carton can conceal internal abrasion or stress. Both outcomes need recorded acceptance criteria.
Retesting should be considered when the product, weight, component layout, protective material, carton construction, closure, or shipping route changes. ISTA also advises that changes to the product or package can create a need for retesting. Treat the validated pack-out as a controlled configuration.
6. Add packaging to the pre-shipment inspection plan
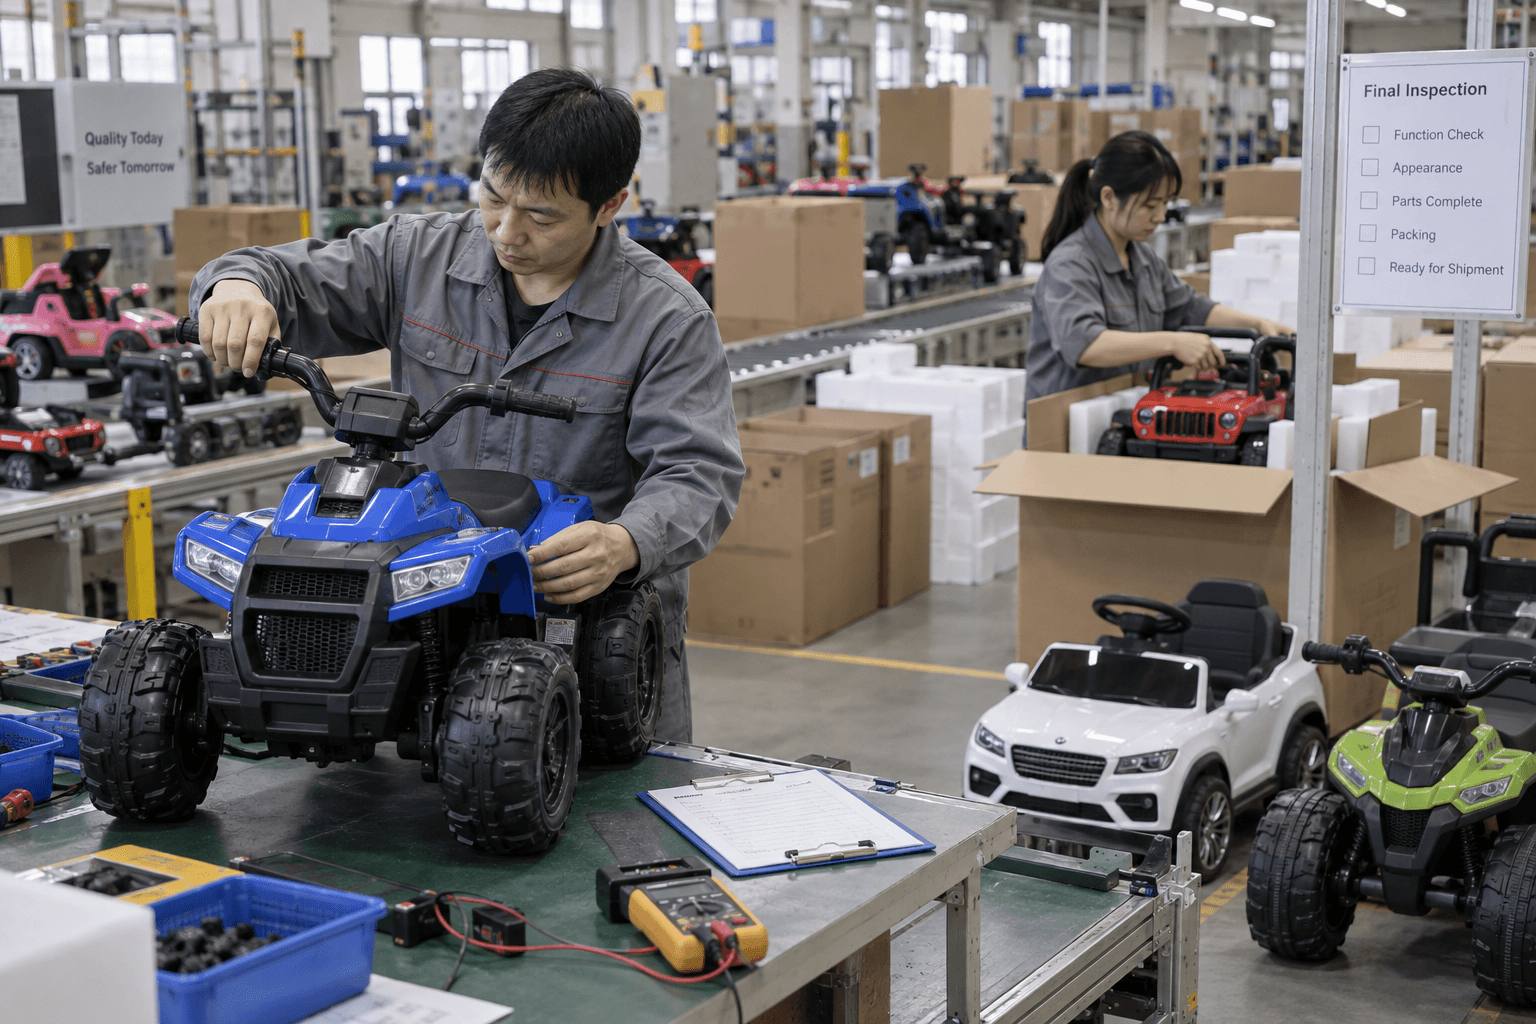
A pre-shipment inspection should not stop at operating the vehicle. Inspectors need the approved packaging specification, artwork, pack-out photos, quantity plan, and defect criteria. Select cartons across production locations rather than only opening samples staged by the factory.
Carton and pack-out checks
- Carton dimensions, gross weight, board or construction identifiers, print, shipping marks, barcodes, and closure.
- Correct model, color, graphics, rating label, instructions, charger, accessories, and hardware inside each sampled carton.
- Protective inserts in the approved positions with no missing, crushed, wet, or substituted material.
- Product restraint, protected surfaces, fixed accessories, battery position, and connector condition.
- No internal movement beyond the agreed limit when the sealed carton is carefully handled.
- Assembly trial on at least an agreed sample quantity, followed by complete functional checks.
- Photos of all pack-out layers so the buyer can trace how a reported issue may have occurred.
Define critical, major, and minor packaging defects for the program. A missing charger, wrong warning, or product mismatch may be critical to release even when the carton looks perfect. A small print shade variation may be minor if it remains legible and within the approved artwork tolerance. The buyer, inspection provider, and supplier should agree classifications before inspection.
7. Protect approved cartons during container loading
A validated carton can still fail if loading introduces water, crushing, sharp contact, unstable gaps, or excessive pressure. Inspect the empty container for damage, contamination, odor, moisture evidence, protrusions, and door condition before loading. Record the container and seal identifiers according to the buyer’s process.
Use a loading pattern based on actual carton dimensions and strength. Keep orientation marks consistent, avoid unsupported columns or damaging overhang, protect cartons from sharp surfaces, and use approved bracing or void management where required. Do not force extra cartons into a plan that changes compression or deforms the load.
Photographs should show the empty container, early rows, mid-load pattern, protection or bracing, final rows, door area, closed doors, and seal. A count reconciliation should connect finished goods, packing list, loaded quantity, and any cartons held or replaced. These records help distinguish factory pack-out problems from loading or downstream handling issues.
The wider CubRover manufacturing process connects packing and loading with the approved sample and inspection release rather than treating logistics as a separate afterthought.
8. Turn claims and returns into packaging improvements
Shipping damage data is useful only when it is specific. Ask customers or warehouses for the order or batch, model, carton condition, shipping route, damage location, photographs of every packaging layer, missing items, and whether the vehicle still functions. A single photo of a scratch without the pack-out cannot identify the mechanism.
Group issues by damage mode and frequency. Compare them with production records, inspection photos, carton suppliers, loading patterns, carriers, and destinations. Then test one controlled improvement—such as greater clearance, a fixed accessory position, a revised insert, surface sleeve, hardware location, or instruction step—rather than adding random material everywhere.
| Stage | Action | Useful evidence |
|---|---|---|
| Contain | Protect current customers and isolate affected stock | Batch, location, photos, quantity |
| Investigate | Identify contact, movement, load, moisture, or user mechanism | Layer-by-layer unpacking and route data |
| Correct | Change a defined product, pack-out, process, or instruction | Revised specification and owner |
| Validate | Repeat relevant handling and functional checks | Test record and acceptance result |
| Standardize | Update work instructions, photos, inspection, and training | Revision control and line audit |
Conclusion
Reducing shipping damage requires a controlled system, not simply more foam or a heavier carton. Map the route, identify failure modes, engineer restraint and protection, make installation clear, validate the complete packed product, inspect production pack-out, and document loading. The result is a package that supports both product quality and the customer experience.
Frequently asked questions
What packaging is best for a kids ride-on ATV?
The best packaging is model- and route-specific. It restrains the vehicle through suitable load paths, protects vulnerable and finished surfaces, fixes heavy components and accessories, controls hardware, uses an appropriate carton, and has been validated as a complete packed product.
Should every shipment receive a carton drop test?
Not necessarily. Agree a validation and production-monitoring plan based on the sales channel, buyer protocol, changes, and risk. Formal testing should follow the selected procedure; simple factory handling checks should not be presented as equivalent to laboratory validation.
How can buyers reduce missing-hardware complaints?
Use a controlled hardware bill, count or weight verification where appropriate, sealed and labeled bags, a fixed pack-out location, clear instruction mapping, and pre-shipment assembly trials from randomly sampled cartons.
What should a pre-shipment packaging inspection include?
Check carton identity and condition, measurements and weight, print and barcodes, closure, internal protection, restraint, accessories, charger, hardware, manual, labels, model match, assembly, functions, and layered pack-out photos.
When should packaging be retested?
Review retesting when product weight, geometry, components, accessory placement, protective materials, carton construction, closure, palletization, or distribution route changes, and according to the selected test protocol or buyer requirement.
How do we investigate a shipping-damage claim?
Collect batch and route information plus photos of the unopened carton, every packaging layer, damage location, components, and labels. Recreate the contact or load mechanism, compare production records, and validate a controlled corrective action.
Make packaging part of your product specification
Send CubRover your model, destination, channel, order quantity, carton target, assembly expectations, and any damage history. We can organize a production pack-out and shipment-inspection discussion around your requirements.
Get a Quote